
Knife making is a passion and even at my old age of 81 years, I love being able to fashion something lovely from a plain-looking piece of steel and maybe an antler or a piece of pretty wood. It’s a special feeling and a sense of achievement knowing that I can make something that looks nice and is very useful. I hope to be able to keep fit and active enough to keep on doing it for a while yet.
I make many different shaped knives, with different handles, and harden and temper them all myself. The people who have them always get back and tell me how good they are, how they stay sharp and hold such a great edge.
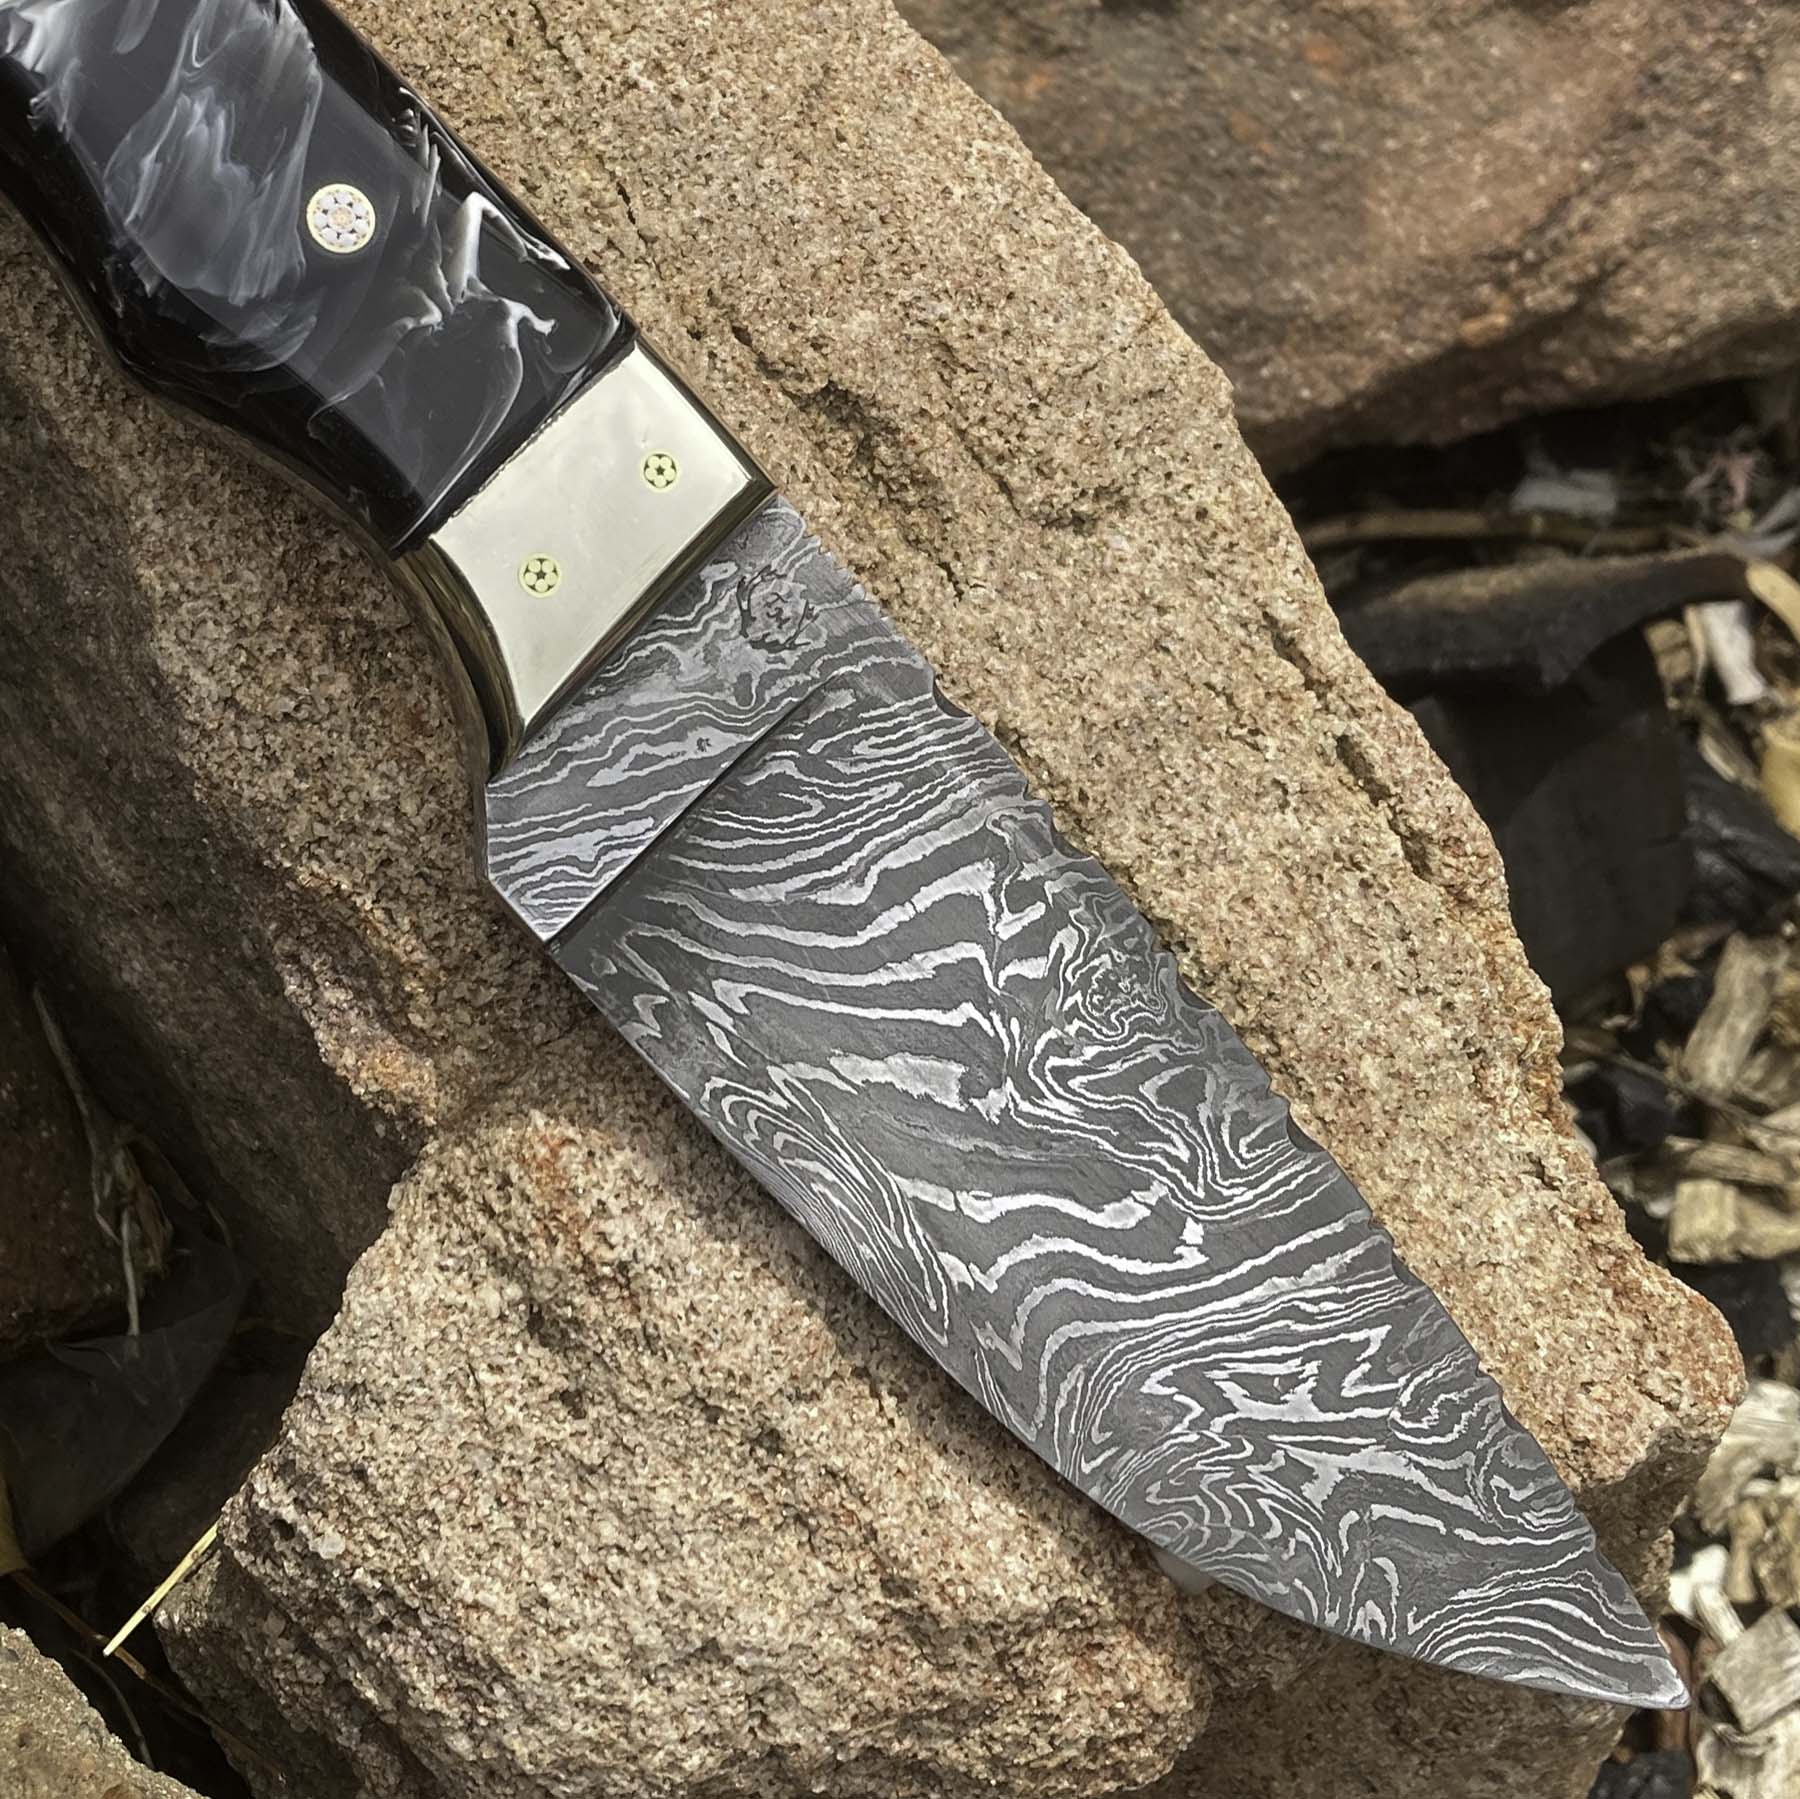
Two steels and sometimes more are used to make the Damascus billet from which to make a knife. In this case, two steels were used: 15N20 and 1095. The reason for this is when these two steels are entwined and meshed together, then dipped into a solution of ferric chloride, the 1095 will come out dark and the 15N20 will come out silver, creating a very nice looking pattern.
Different patterns are made by sometimes just squashing these two steels together, cutting and re-packing them, and squashing again and again. Sometimes they can be twisted or stacked different ways to make different patterns, such as ladder, birdshot, mosaic etc.
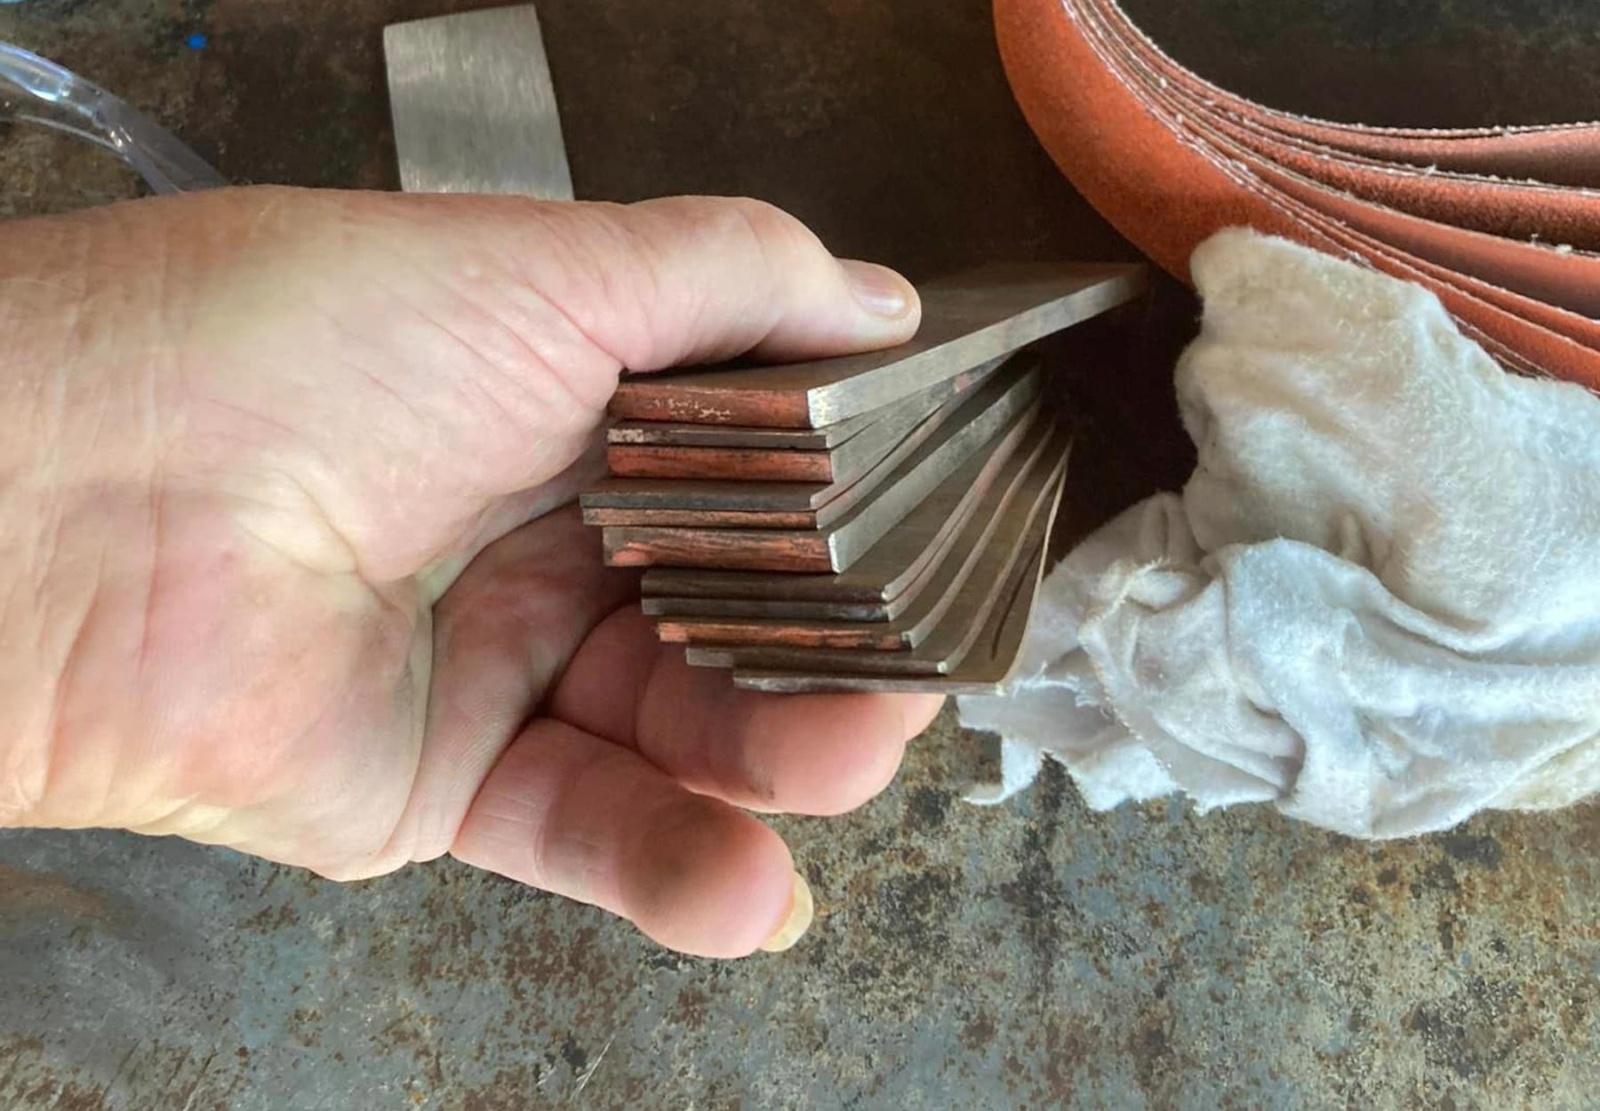
This knife started with 11 layers of steel cut to around 20cm (8”) in length. Each piece had to be sanded and cleaned perfectly before they were stacked together and welded to hold them tight. A length of booker rod was welded to the end to use as a handle when taking them from the forge and squashing them together.
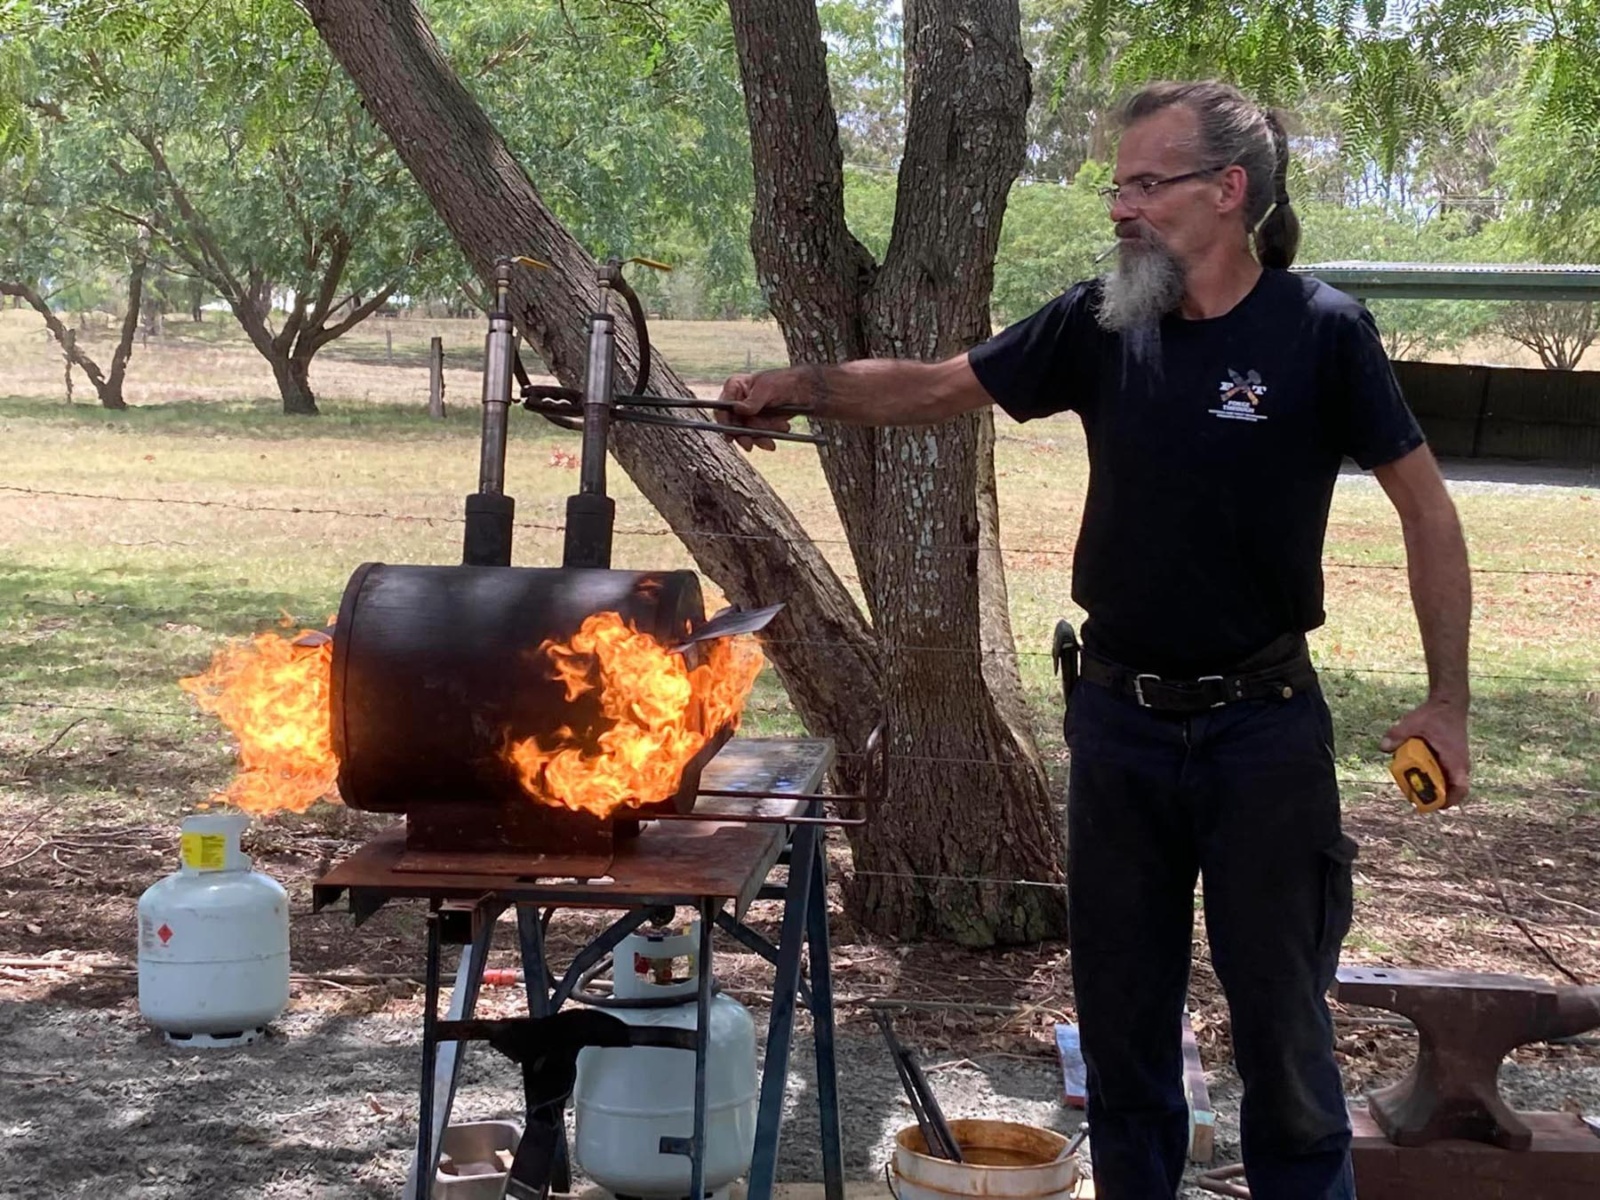
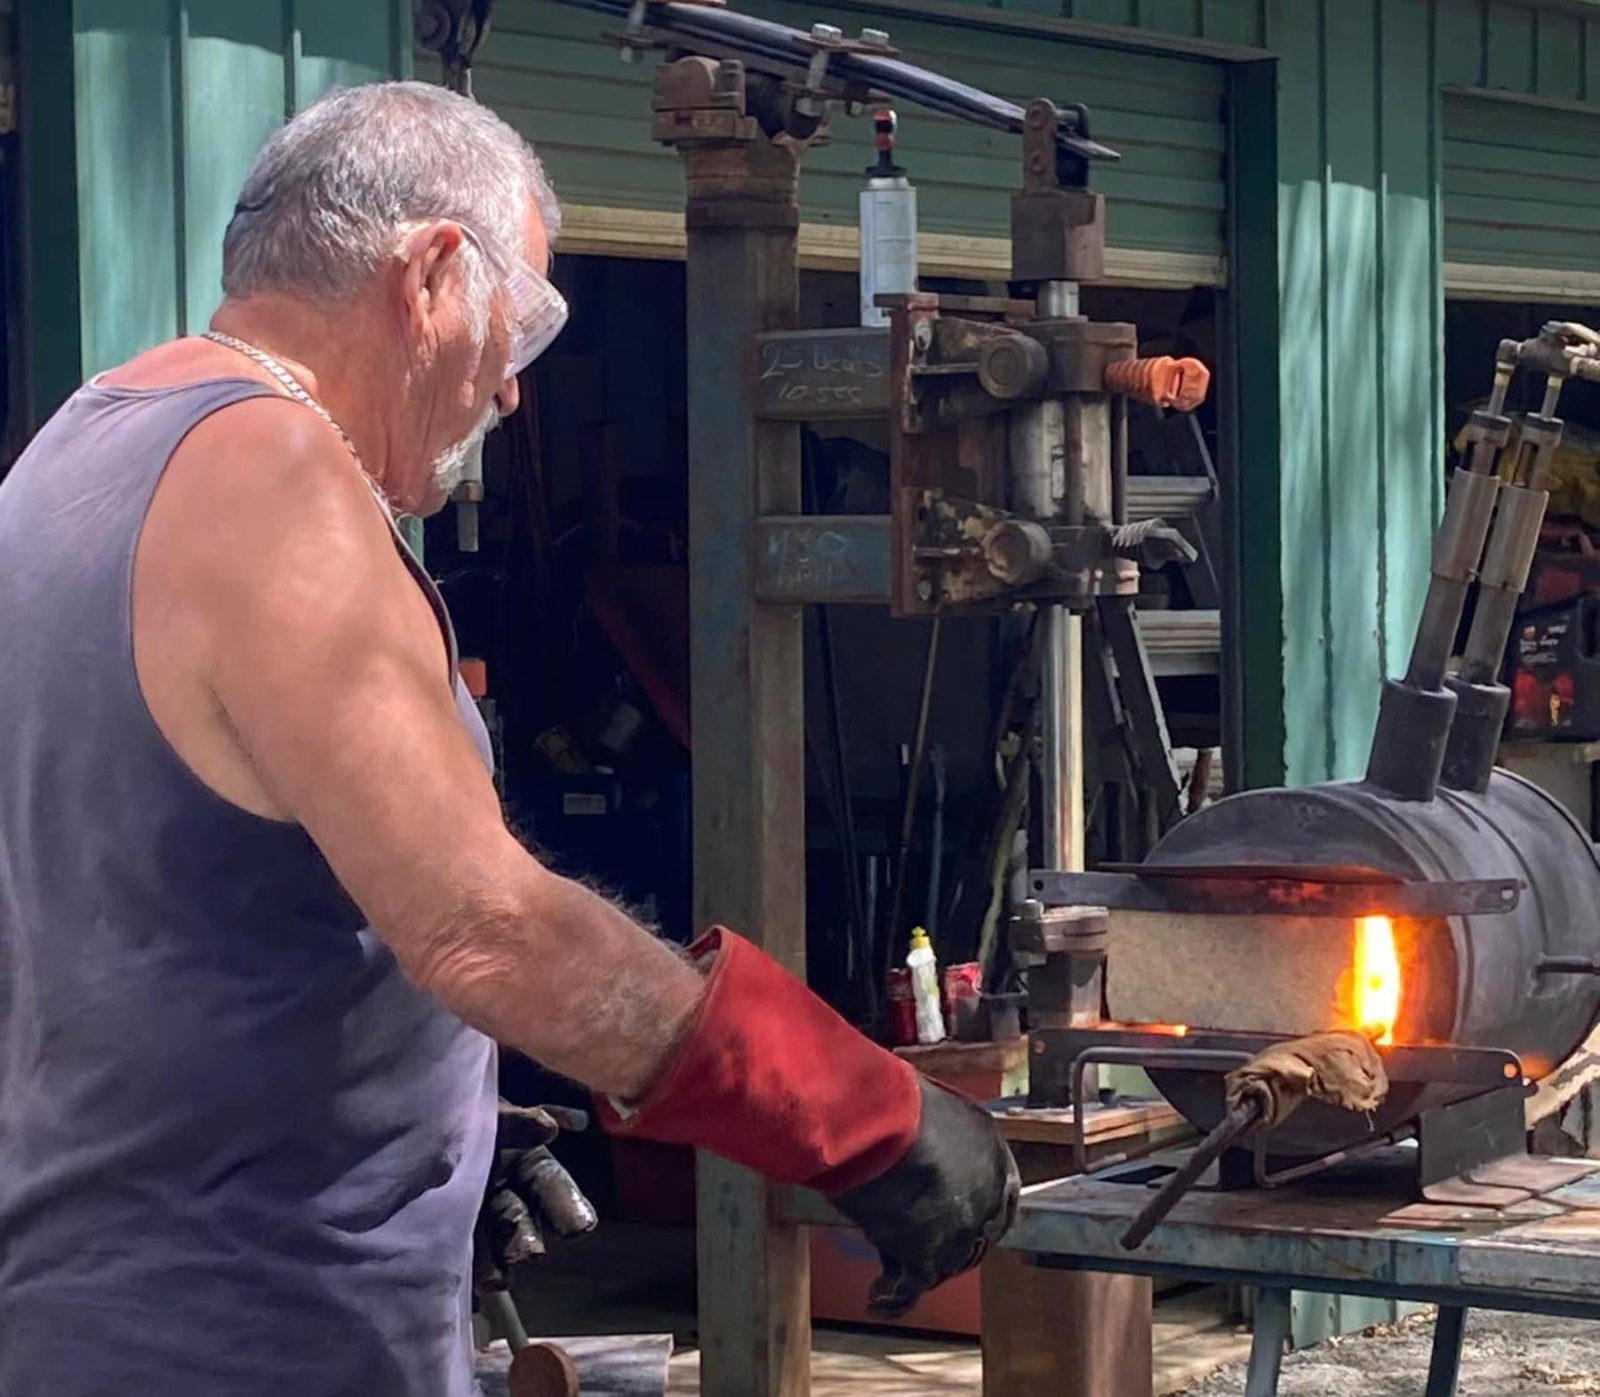
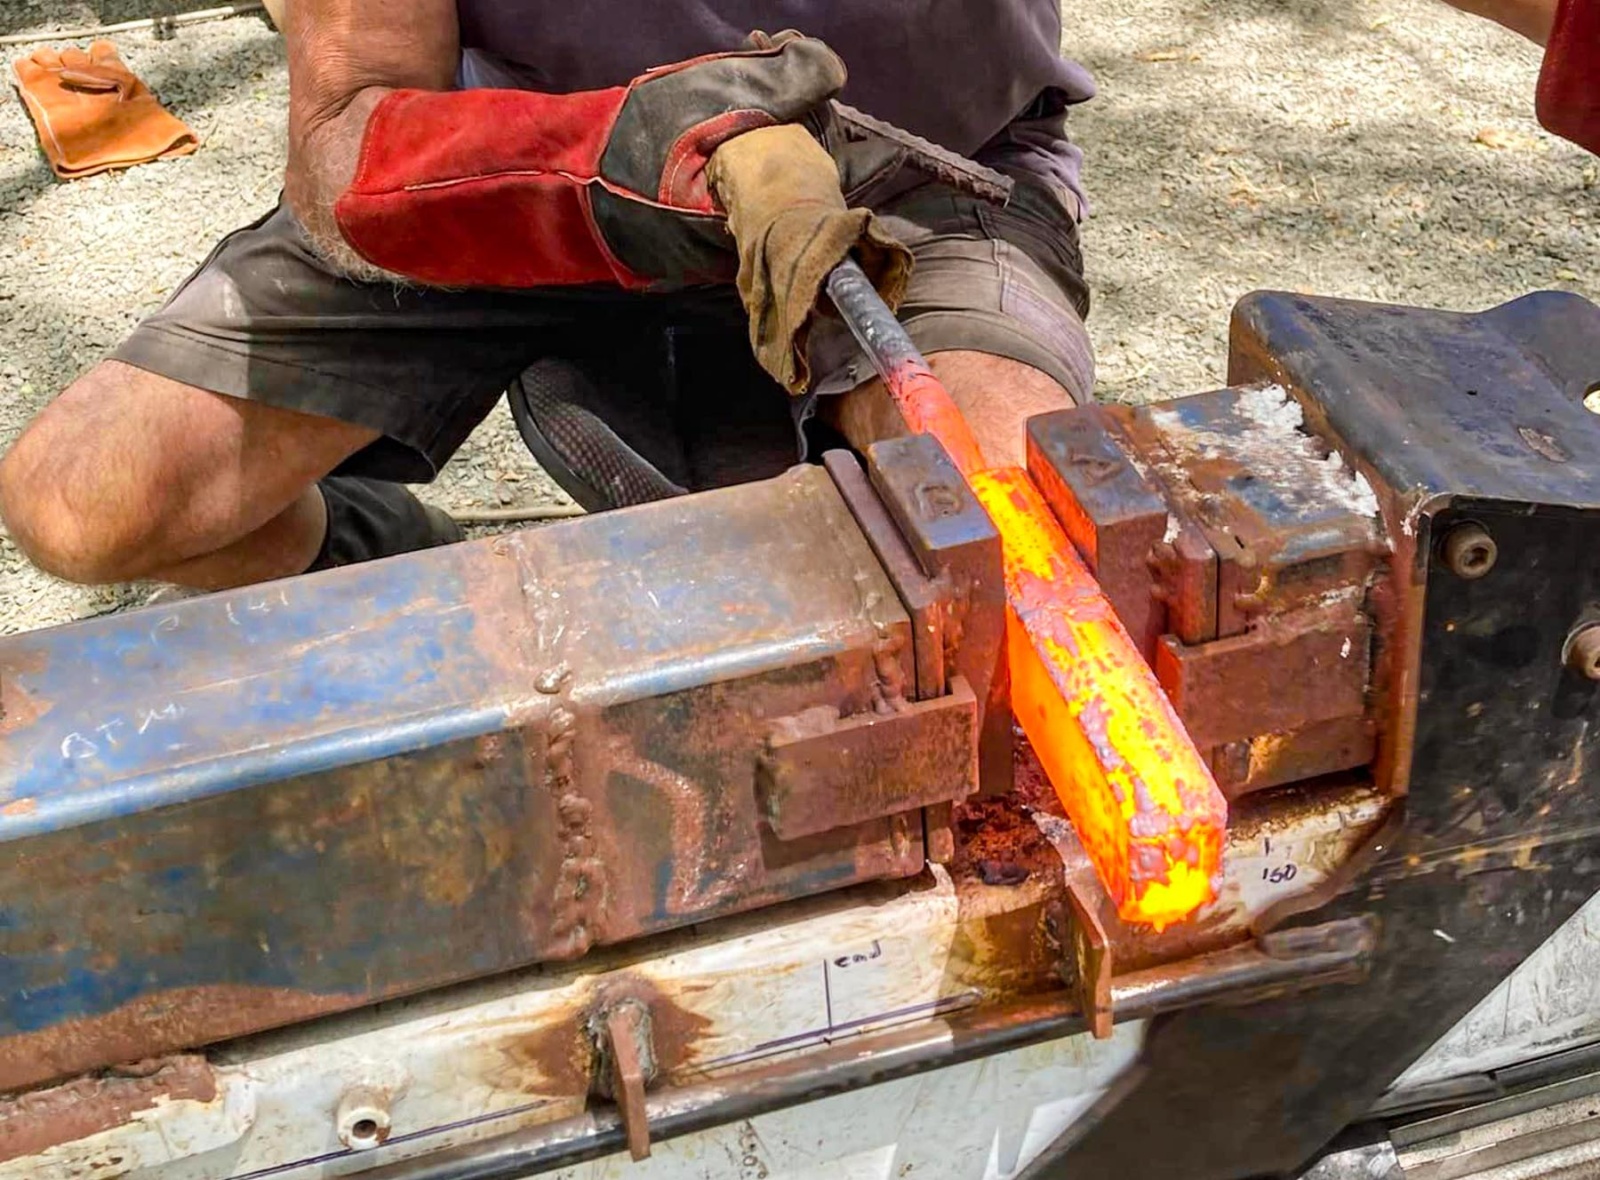
In the forge, they were heated to 900°C or more, then removed, coated with Borax and put back into the forge. When red hot, the pieces of steel were squashed repeatedly in a jig specially made from a wood splitter. In between these squashings, the steel had to be dipped and coated again in Borax, which helps clean and make the steel weld together. This continued on while the steel became thinner and grew longer until it had grown to a much longer length and only around 1cm (3/8”) thick.
This longer piece of steel was cut into three pieces and cleaned thoroughly, and the pieces stacked and welded together again. The same heating and squashing process went on once more, until it had come out roughly the same length as the first time. Afterwards, the process was repeated for a third time. You can do this as many times as you want because the more it’s done, the more refined the pattern. Doing it three times gives you 297 layers, squashing and cutting once more gives you 891 layers.
Anyway, now my steel was close to where we want it, so it was hammered nice and flat and cooled down.
The next stage was to put the steel through the 84 Engineering linisher with a surface grinder fitted. This ground the steel flat and it was brought down to around 4mm thick. This process took two of us a whole day to get to a stage where it could then be made into a knife.
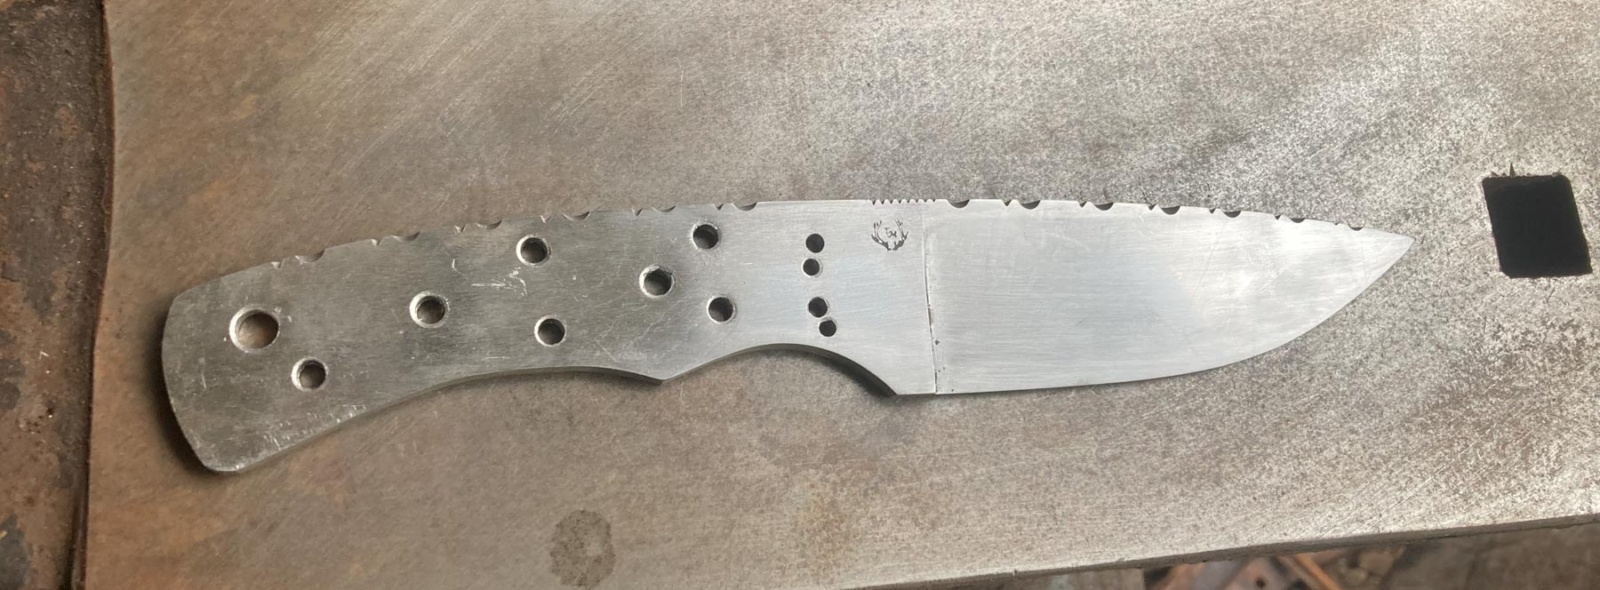
It was now time to draw out the shape of the knife, and I already knew what I wanted to make from my piece of Damascus steel. Once the shape was drawn, it was then roughly cut out using a four-inch angle grinder. This rough knife was shaped properly on the linisher until I was happy with it.

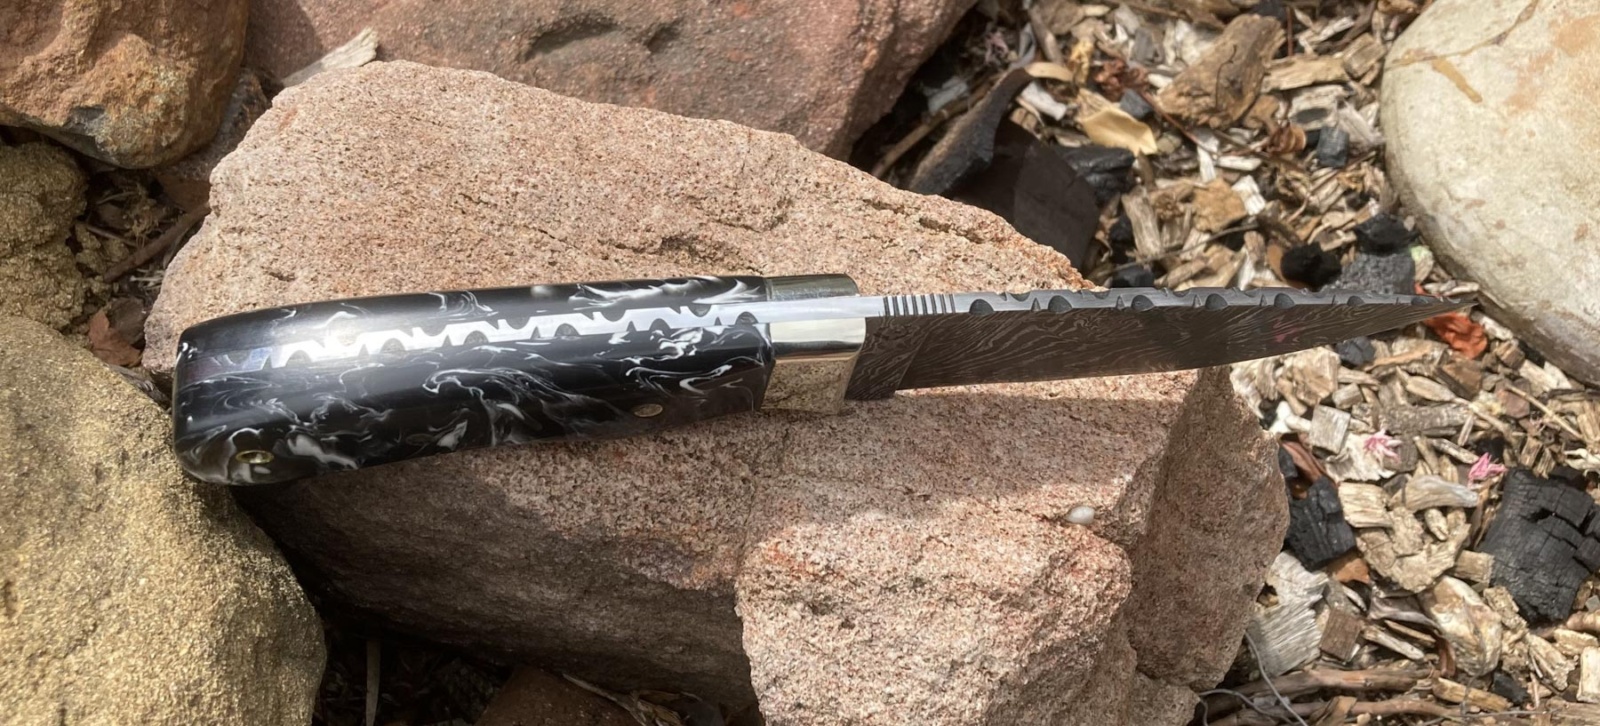
Lines were drawn where I wanted to grind the plunge lines, and holes were marked in the handle section for pins, with extra holes to hold glue. On the spine of the knife I did some fancy file work using a chainsaw file and a three-corner file the whole length of the handle and the blade. Once I was happy, the holes were all drilled and chamfered and I started grinding the bevels on the blade.
A 60-grit Blaze belt was used first until nearly to where it was wanted and then a 100-grit Blaze belt was employed to get the grind lines finer. Making sanding easier later on, another 150-grit Norax belt was used and then a 320 one. Finally, the grinds were then sanded with first a 180-grit belt, then a 240, a 400, a 600 and finished with an 800-grit.
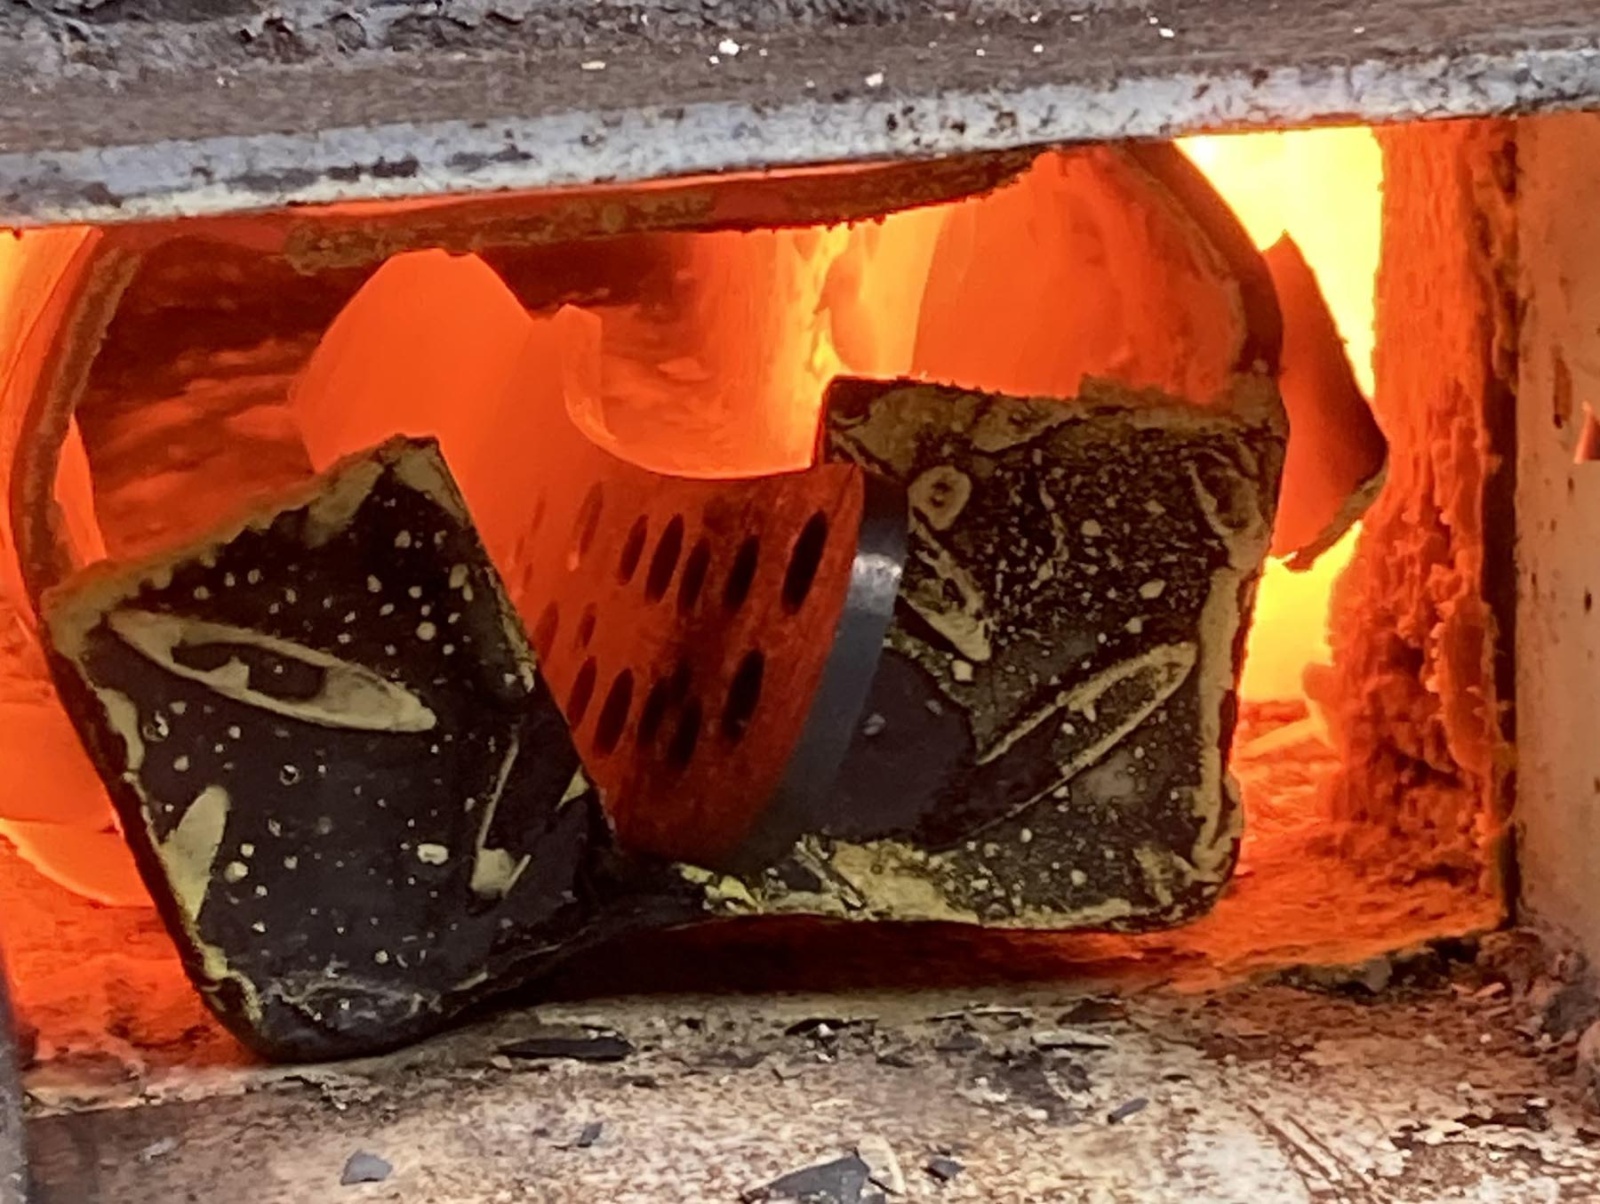
We fired up my forge and returned the knife to it, where it was hardened at 815°C, dipped in oil to quench and then stuck into my tempering oven at 190°C for two hours, twice, with a cooling period in between to temper it.
The knife had to be sanded back again, starting with 600-grit sandpaper, then 800 grit.
Once happy with the finish, I prepared to fit the bolster. The bolsters were cut from a piece of nickel silver and shaped to fit properly, but before they were fitted and glued and pinned, the knife had to be dipped in ferric chloride for five minutes to bring out the patterns in the steel. This done, it was sprayed with Windex window cleaner to kill the acid, and sprayed and wiped with Inox.
After wrapping the blade in tape to keep it clean, the bolsters were glued and pinned. I used mosaic pins through the bolsters for more good looks and appeal. Once the glue was dry, they were given their final shaping and it was ready for the handle scales.
The scales I used were made for me by a chap in WA out of special resin he buys from the USA. The scales were shaped to roughly fit and a lot of shallow holes drilled into the inside of them to help hold glue. They were glued and also pinned with mosaic pins. Once dry they were rough shaped on my linisher using a coarse belt, then a series of finer belts until I was satisfied, before being put into the little knife holder I have for sanding.
The scales were sanded back through the grits, from 120 to 800, and then taken out to my shed and put on my buffing machine with polish until it looked good.
At last my Damascus knife was ready to be sharpened. I fixed it into a small jig I had made and slowly sharpened it using a 150 Norax belt to bring it to a feather edge, then a 320, a 600 and finally a 1200 Norax belt. The blade was run once each way on my buff with polish and, boy, it was sharp enough to have a shave with!
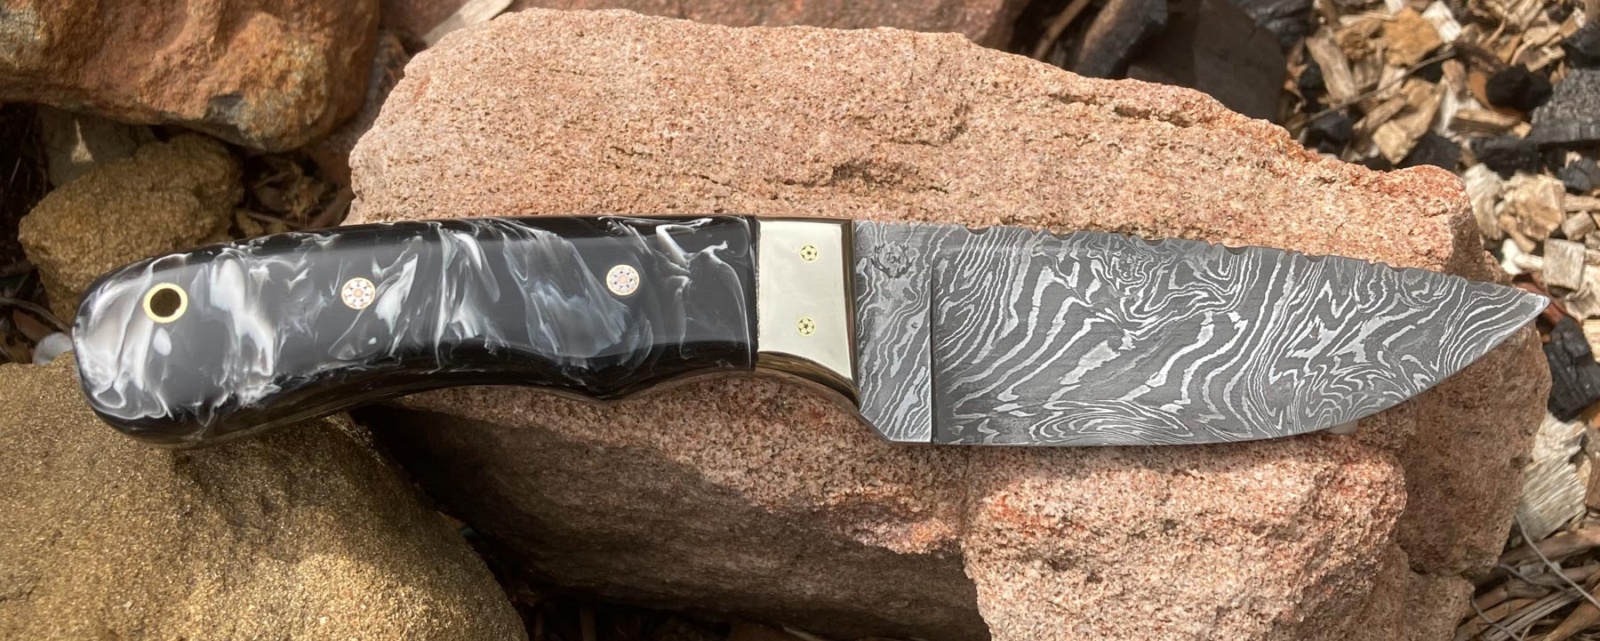
The knife was paired with a sheath and I was very happy with it. It’s funny, but even after being offered large sums of money for it,I really didn’t want to sell it. What price can you place on something that has taken so many days to make, lots of money, sweat and hard work — and mainly just the love of being able to make it.


0 Comments